Saturday, 29 November 2014

Drawing & Painting Nature (i) - Butterflies & Moths

I thought that we could do with some memories of the summer as we progress through the winter, in whatever part of the world we may be in.

My camera is always close by my side, although I must admit nowadays it seems to be my camera phone.  We seem to be able to catch images of nature in an instant, and this has certainly been the case for butterflies and moths.  Whether it be when I am out for a walk, in the garden or even looking at the few dead specimens I have.

These colourful and fascinating creatures certainly do brighten up the summer and at the end of the season I am always left with a collection of images that I would like to incorporate into my artwork.

But how to go about drawing and painting from the images ?  I think the best thing for me to do is to break my approach down into stages:

  • Find out the species of butterfly/moth.  Ensure that you have correctly identified it.
  • If you are drawing and painting from photographs, ensure that you reproduce the drawing to the correct scale.  Find out the measurements and proportions of the species, before you even put pencil to paper.
  • If you only have one image, look at other images in books and on the internet to ensure that you have the right characteristics.  Remember that there may be colour differences, dependant on the quality of your image.  The patterns and colours may also differ between the sexes of the same species.
  • Do not just work from one image, use several to refer to.
  • In some instances, especially when drawing from a set dead specimen, you can draw one side of the butterfly and then flip it and trace it to draw the other side.  The symmetry of butterflies is great, but one thing to remember is that this will be more difficult to portray when using a photo as reference, due to perspective of the wings and the position the butterfly/moth may be in.

This Painted lady can be considered symmetrical, take note of how the pattern on the wings is identical on each side.  The red line acts as a central-axis from which to start the drawing.
  • Once the thorax and abdomen are drawn, draw the outline of the wings.  As well as using geometric shapes to help guide you (as above), you can also create other shapes, some forming a figure of 8.
 You can see the blue line depicting a figure of 8 over this image of an Orange-tip butterfly.  This helps to get the proportions of the wings correct.  I am also always comparing where things are in relation to each other e.g distance and angles between two features.


Again, with this image of a Peacock butterfly, you can see a figure of 8 in place to act as a guide.
 
  • Once the outline is in place the next very important step is to draw in the venation of the wings.  This is essential as these lines will act very much like a map, and if drawn correctly will guide you as to where each marking goes.
The venation is quite clear on this slightly battered specimen of a Swallowtail, and you can see clearly how this would help you define where the markings need to go.
 

  • Now onto the painting.  There are various techniques to use when painting butterflies, but the most important thing of all is to get the correct colour match.  Again, if working from photos make sure you work from several and research to find out the most likely match.
  • Butterflies and moths are often hairy on the abdomen, thorax and the base of the wings.  Once the main features and wings of the butterfly are painted, I then work on this hairy detail last of all, using a small spotter brush.  I often mix a little permanent white gouache in with the watercolour too.  The paint is then applied using a hatching technique which helps to portray the texture of the hair.

This section from my 'Circle of Habitats - Grafham Water NR' illustration, shows several butterflies and also a moth.  You can see the hairy and textured abdomen and thorax of the Tortoiseshell butterfly and also the more subtle texture on the Common blue butterfly (right).
 
Another painting technique used is stippling.  This is useful to use when depicting some of the markings.  It has to be remembered that each of the butterfly wings are made up of tiny scales, so a solid shape of colour would not necessarily portray this.
 
 
This Speckled Wood butterfly from the same illustration is composed of mainly browns and neutral colours.  It would be very easy to paint sections of the wings in solid colour, but even on such a small area, there are still going to be tonal variations, dependant on where the light is hitting the specimen and the individual scales too.  So it is just as important to build up areas of colour gradually from light to dark.
 
 
I hope this has given you a good starting point in illustrating butterflies and moths from photos.  There are many natural history illustrators with years of experience of illustrating Lepidoptera, so here are a few of the artists that inspire me, with links to their websites.
 
Tim Freed
 
There are also several conservation organisations here in the UK and also overseas, that help to conserve butterflies and moths, by taking part in research projects, monitoring programmes and also maintaining valuable habitats for these species.


In 2015 I will be teaching a workshop for the Society of Floral Painters on the theme of drawing & painting butterflies and other insects.
 
In addition there will also be another exciting opportunity to come and paint these subjects at a Natural History Illustration Summer School, that I will be teaching in the summer of 2015.
 
News of this and another summer school will be launched in the New Year - watch this space ! 
 

Tuesday, 18 November 2014

A few of my favourite things ..... from my studio

I belong to some  fantastic art themed groups on Facebook, where we share images of our work, ask for advice, talk about art materials; and one of the things we like most is probably seeing and chatting about what we have in our studios. 

Several people have also asked me which Daniel Smith paints I use, so I thought that I would combine this and a few of my favourite things from my studio into a blog post.  I hope you enjoy it.

Brush Pots 

I always make use of favourite mugs that are of no use anymore for my brushes and pencils, but the three I use most are seen here.

The white mug was my Grandfather's RAF mug from the second world war.  He was always a great supporter of my artwork and interest in the natural world, so it is nice to think I have something of his in the room where I seem to spend the most time !

The other two pots/stands have been made by my husband and were some of the first things he made when he took up wood-turning.  The tall pot is made of teak, which was quite a tough wood to turn, and the other brush stand is a piece of birch that had seen better days, but I loved the pattern of the grain and the other markings in it.


Brushes

Over time I have used a variety of brushes, but I always come back to my favourites, the Isabey 6228 series.  They are made of Kolinsky sable and are of fantastic quality.  I find they are very hard-wearing and really keep their points well.

As I am using my brushes all the time and it is hard to keep track of which ones are the newest ones, I try to put a label on the bottom of each saying when I bought them.  Hence why it says 'Aut 13' meaning Autumn 2013.  The ones I use most obviously wear more quickly and it is easier to tell.

I also love using Rosemary Spotter brushes Series 323.  These too are Kolinsky sable.

They are designed to be used for miniature painting, but many botanical and natural history artists use them for rendering fine controlled detail.


Pencil Sharpener

Fair enough, you can't take this pencil sharpener when sketching in the field, it would weigh your bag down a bit !  In that instance I use a scalpel to sharpen my pencil.

This is what I use in the studio and during my classes.  It gives a wonderful long point to the pencil.

The advantage to using a sharpener like this is that the sharpening mechanism actually revolves around the pencil.  This means that the pencil is not being twisted whilst being sharpened and there is less likelihood the core of the pencil being broken.


Books

I have many botanical and natural history books.  Field guides, floras, but also art books on these themes.  They are often catalogues from exhibitions, but also include art history books too.

My all time favourite set of books is 'Drawings of British Plants' by Stella Ross-Craig.

What attracts to me these is the clear and detailed illustrations which I so often refer to when illustrating native plants.  I may not be illustrating the whole plant, but being able to see what a small botanical feature actually looks like, helps to me understand the true morphology of the plant.

My natural history collection

Much of this I have collected myself or it has been given to me.

I have numerous boxes filled with bits and pieces that I use for my workshops and courses and for my own illustrations or commissions.

My young nieces are mesmorised by it all and have already caught the bug of illustrating nature in their own sketchbooks.

 Paints

Last but not least onto the paints !  When I teach I use a limited palette of 6 colours divided into warm and cool colours, but the box on the left is what I call my 'studio box'.

It contains the 6 key colours but also includes other colours that I use when needed, and also some colours by Winsor and Newton, Schminke and Sennelier.

Once my students are confident with the 6 colours and realise the array of colours that they can mix, they too gradually introduce some of these additional colours.  It may for example be that they find that they need an alternative to the warm red, or the same for the cool blue.

I must say that my favourite brand of paint at the moment are Daniel Smith paints.  They are such smooth and easy to use colours, although when I first used them I soon realised that the you don't need to pick up quite so much colour from the palette with your brush, compared to some other brand of paints. 

When I first discovered DS paints a few years ago, I bought some of the Primatek colours.  These are colours that are natural mineral based colours and therefore retain the characteristics and quality of the original mineral pigment.

They really lend themselves to painting natural objects and landscapes too.  Many of these colours do granulate, which you don't always want I know, but this can be an advantage for particular subjects.

I try to ensure that the paints I use consist of single pigments, but there are a few that that do contain several pigments.  These are not colours that I use on a regular basis, but when I do use them I try not to mix them with too many other colours, otherwise it is very easy to end up with a 'muddy' wash.

So if you are wondering about what colours to choose, I thought it a good idea to categorise some of the colours into warm and cool, and in some cases give an equivalent colour.

Cool yellow
Hansa yellow light - a good alternative to a lemon-based yellow

Warm yellow
New gamboge - available in other brands, but this one is transparent
Quinacridone gold

Cool red
Anthraquinoid red - a good alternative to perm alizarin crimson, but slightly richer in intensity

Warm red
Pyrrol red - a semi-transparent colour which is a good alternative to a cadmium red
Perylene scarlet - a vivid red which is also semi-transparent.  DS say that it granulates, but I have never noticed this.

The two warm reds above are perfect for painting rose-hips and poppies.

Cool blue
Cerulean blue - the great thing about DS Cerulean blue is that it is semi-transparent.  In other brands it is often opaque.

Warm blue
Cobalt blue - the same applies for this colour as for the colour above, it is semi-transparent rather than opaque


Other colours
Other DS colours that I find useful are:

Rhodonite genuine - a very gentle pink

Transparent Pyrrol orange - a vivid rich orange, great for autumnal subjects

Raw umber - a great brown to have in your palette, semi-transparent, but a different colour raw umber than to other brands

Buff titanium - Yes it is opaque, but handy to have for painting fungi and shells

Undersea green - Sometimes I do use ready-made greens, and this is a good one to have.  It does granulate, but I found that very useful when I was illustrating a Medlar fruit.  The granulation helped to portray the subtle texture of the fruit, especially when the colour was mixed with quinacridone gold.

Sap green - a handy one to have in the palette when you are in a rush for a green !  It works well when mixed with other colours, although you do have to be careful as it is made up of three pigments

Indigo - In the past I have at times steered clear of Indigo as it often contains a black pigment.  This one does along with a blue pigment, but an advantage is that it is transparent


Well I must get back to my painting.  I'm still working on that fungi painting, which I really do hope I finish this week !

Tuesday, 11 November 2014

Further fungi .....

I mentioned in a previous post in October, how I had started a painting of fungi. http://thenaturalyear.blogspot.co.uk/2014/10/autumn-ramble-and-further-fungi.html

The species originate from an area of woodland in the New Forest, which is in the county of Hampshire, UK.

This is just a quick post to update you on the progress of the painting. Three more species have been illustrated with a few more still to go.


The species are Sulphur tuft (top right), Cortinarius sanguineous (lower right), and a tiny Amethyst deciever (left).

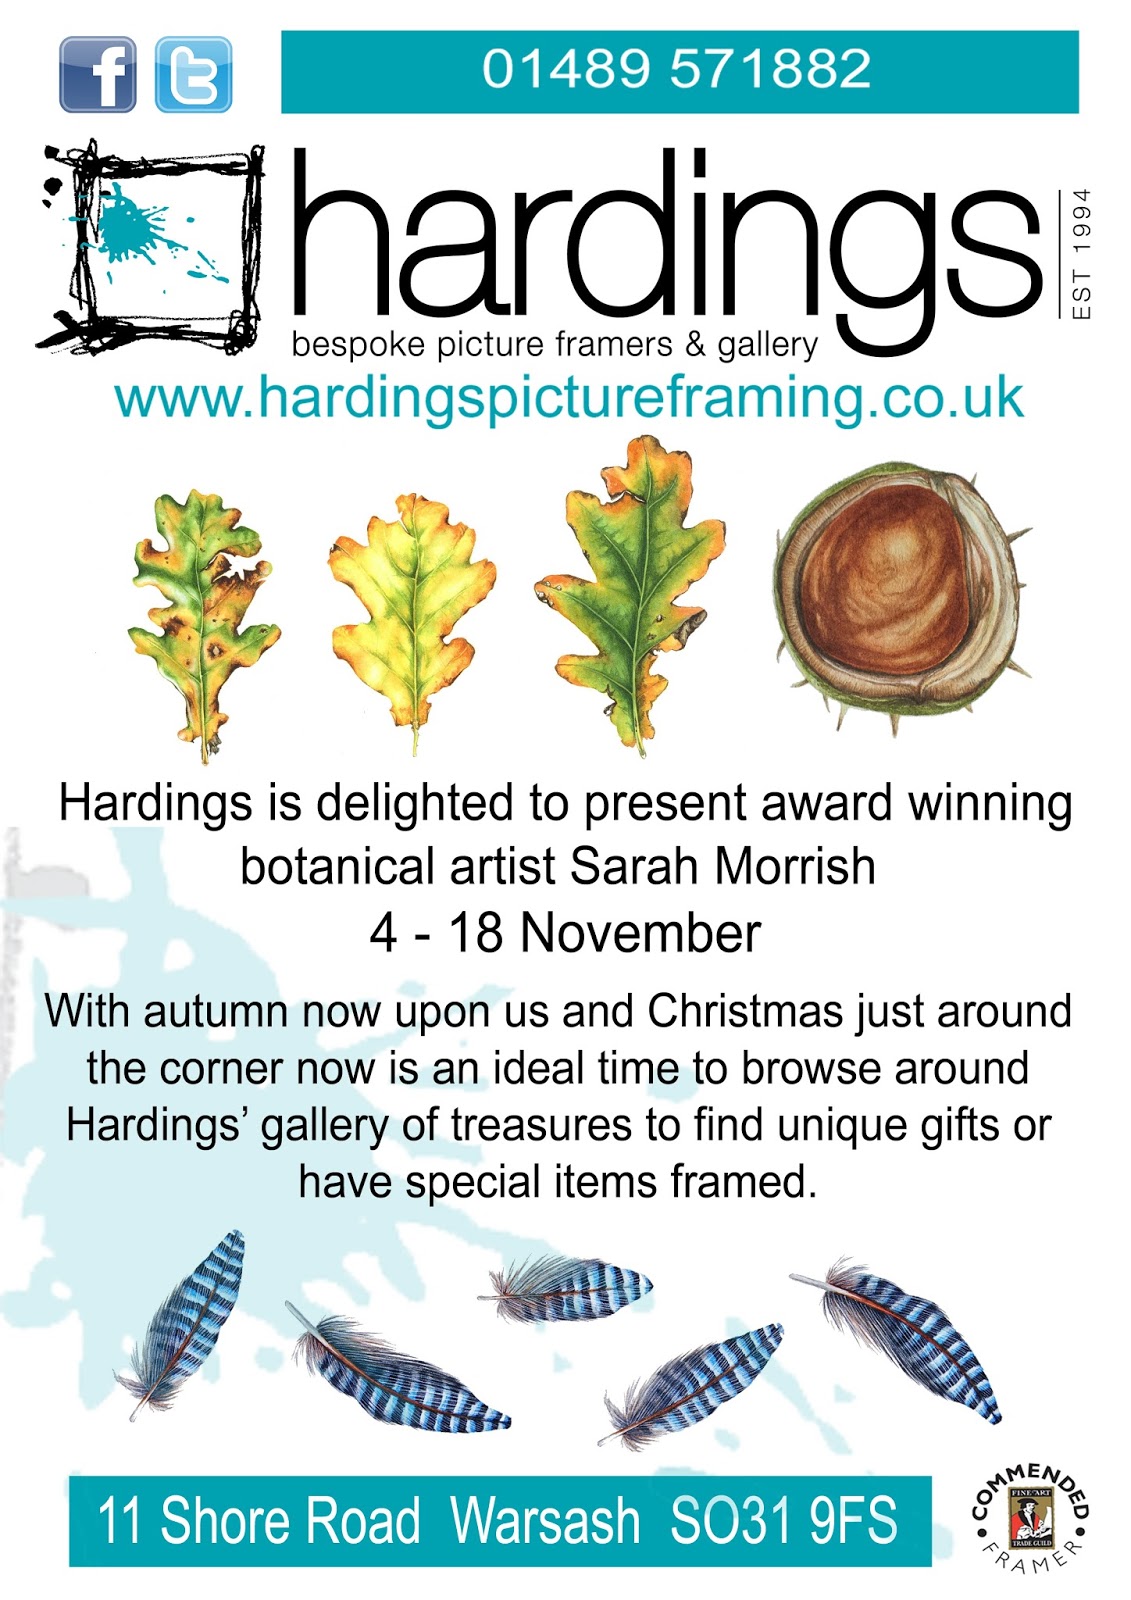
On another note, my exhibition has been well attended and several paintings have sold.  The exhibition is on at Hardings Picture Framing and Gallery in Warsash until 18th November.

I'll be painting again in the gallery on Friday 14th November from 10.30am - 3.00pm.  The image for the new blog banner above was taken in the gallery last week, painting sand dollars in my sketchbook.


Tuesday, 4 November 2014

2nd Solo Show & In Praise of Picture Framers

Today my second solo show opened to the public at Hardings Picture Framing and Gallery in Warsash near Southampton.  The exhibition is open 4th - 18th November.


I feel incredibly grateful to have been given the opportunity to exhibit at Hardings, it is somewhere that I have visited for the last twenty years, most importantly for framing requirements.

There have been periods of absence, normally when my previous careers have meant that there was no time for painting, hence no pictures to frame.

Each time I have been back, Jeremy, the owner and framer is always there to offer advice and make new suggestions.  He has got used to the requirements of framing botanical art and the criteria I have to adhere to for exhibiting with the national and international societies.

For many years, I have used a plain oak flat frame, quite narrow, but which seems to never date.  This has tended to suit both botanical and natural history artwork.

What has been most exciting in the lead up to this most recent exhibition has been the anticipation in seeing how some of my latest pieces have been framed.  Most of these have not been botanical and I was thrilled with the results (I didn't know how they were going to be framed). 

I thought I would take you on a 'close-up' trip of some of the frames that Jeremy has created.


These two paintings are acrylics on a natural linen canvas board.  These are two of my favourite pictures in the exhibition, and that is down to the framing.  The canvas boards have been attached with acid free tape hinges and placed on mountboard.  What really helps to show these paintings off is the wide border to the mountboard and placing them in box frames.  The colour of the wooden frames compliments the colours of the canvas and the painted natural objects.  Finally, anti-reflective glass has been used, which makes it almost feel as though there is no glass at all.


Again, with this picture the mountboard is nice and wide, and this is enhanced by using a wide frame.  The colour of the frame is just right, and although is dark in nature, the distressed grey effect really does match the soft greys and black in the Jay's feathers.
 
 
Following the theme of wide mounts and frames, this frame also has a distressed effect, but is paler in colour.
 
 
For the Stag Beetle painting this dark frame perfectly matched the warm black of the beetle and the box frame makes it feel as though you are almost looking into a cabinet of curiosities.
 
 
My Quail's eggs painting has proved popular in the past, so here is mark ii (top picture).
Dream Eggs is at the bottom and these pale but warm coloured wide frames, draw your eye into the subjects.
 
 
So, tips for artists on finding and working with your framer:
  • As well as supporting local business, using a framer near to home can help to cut transport costs down (if you can find one nearby).
  • When visiting a framer for the first time, look to see the range and variety of frames that they stock, as well as mountboard.
  • A good framer will listen to you, rather than dictate what frame should be used.
  • Vice versa, listen to your framer.  He or she may come up with new suggestions for frames or even the proportions your mount should be.
  • They may even be able to order in a particular frame that they do not hold generally in stock.
  • A good framer will be up to date with the latest framing trends and framing techniques, for example using slips, French mounting etc.
  • If you are an artist needing framing done on a regular basis, ask if there is any chance of a discount.
  • Some framers will make up a frame for you with backing board, glass and mount, at a reduced price, if you are happy to frame the picture yourself.  (This can be stressful though, especially when there is a tiny bit of fluff behind the glass when you have just sealed it up !)
Lastly, appreciate your framer, and if you are pleased with the work, spread the word.  We all need to help each other.
 
Thank you to Jeremy and Claire for all of their support in bringing this exhibition together.
 
So, the exhibition is on until Tuesday 18th November, during normal shop opening hours.
 
I will painting in the gallery on Thursday 6th November and Friday 14th November 10.30am - 3.00pm


Hardings Website