It is that waiting time until the first signs of Spring appear.
Firstly, I wanted to show you a collage of images of student's work focusing on the humble cabbage. Some illustrated the bumpy surface of a savoy cabbage, others worked on red cabbages.
Who would have known that there was such variation in a red cabbage, once you cut it open ?! The patterns and colour are so variable.
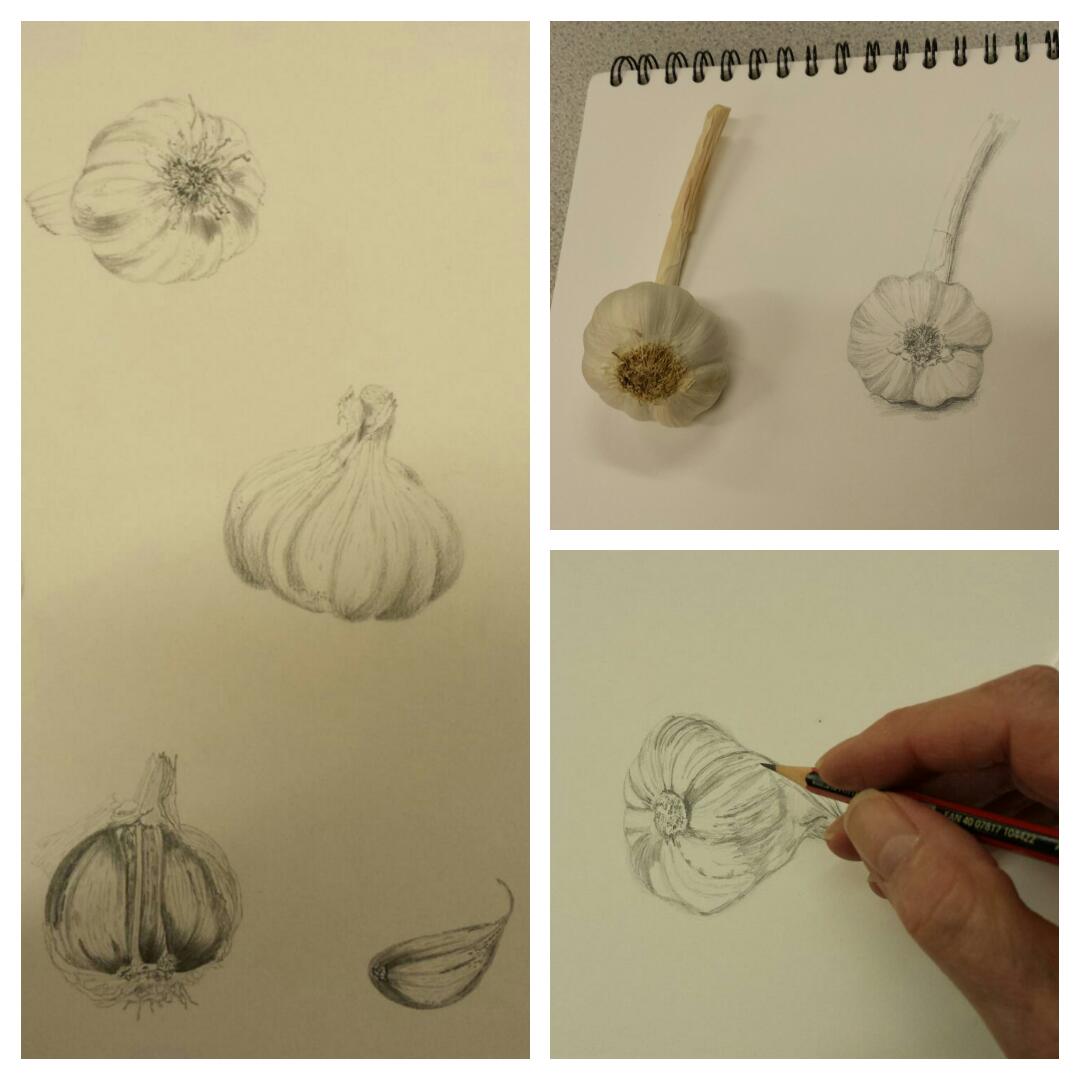
A previous week we worked on graphite drawings of garlic before going on to explore mixing neutral washes or 'botanical greys' to paint the same subject.
Back to this last week - it was free choice as to what the students brought in. Quite a few of them started to work on small colourful squashes and a couple worked on these delightful variegated small aubergines / eggplants.
They may look a challenge, but hopefully seeing each stage develop will help you to understand the process.
The first stage was to draw the aubergine with a 2H pencil on hot-pressed watercolour paper.
Then a weak wash of New Gamboge (PY153) was applied.
The next colour to mix was the purple. It had a red shade in there somewhere, so I decided upon DS Imperial purple with a splash of Perylene maroon (DS or W&N) in the mix.
To start to achieve the patterning I applied the paint in a downward stroke, sometimes softening the edges (especially where a highlight was occurring), but with some edges leaving them un-softened to portray the more defined patterns.
I decided that the original base wash of New Gamboge was too pale. So once the purple areas were completely dry, I then painted another, slightly stronger wash of New Gamboge over the top and let it completely dry again.
The next stage was to strengthen the purple mix in intensity and build up more of the pattern in the same way as before, with a little less softening of edges taking place.
As this was a demo piece I only worked on part of the aubergine, so each step could be clearly seen in the same piece.
A further deeper purple mix was applied and to break up the striped effect, smaller dots and 'splodges' were painted on between the stripes.
Here you can see that the darker purple mix is applied just in very small areas and we are still retaining slightly lighter areas, which would be where the highlights are.
In all there were 4 layers of paint used in this demo piece (if you don't count the additional layer of New Gamboge).
The painting on the right is of another variety of small aubergine.
This one was painted for a class demo too and used in one of my You tube videos.
As I write this the blog has exceeded 60,000 pageviews !
Thank you so much everyone for your continued support.
Happy painting !


Love your step by step aubergine painting. I tried one but it ended too dark and lost most of the stripes. Now I see where I went wrong.
ReplyDeleteGlad I could be of help :)
DeleteThank you for this post. It is so informative and inspiring, I have learnt a lot.
ReplyDeleteThank you Chris. Your artwork is beautiful. I love the painting of the Orange-tip butterfly, that one is on my painting list too :)
Delete